How I Made Pixel Art Without Opening Photoshop
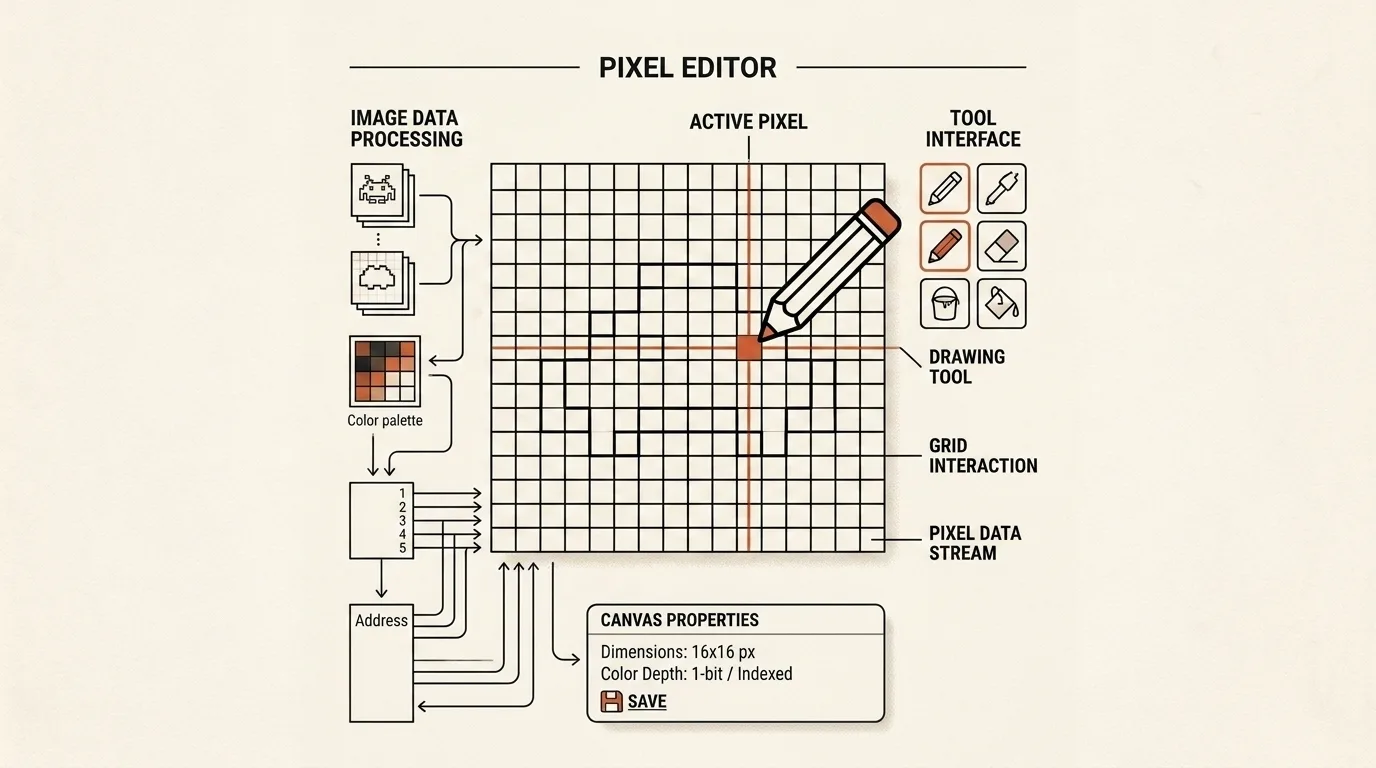
Some tasks do not justify opening Photoshop — like driving a micro-nail with a sledgehammer. A 16×16 pixel icon is one of them.
I wanted a tool that opens immediately, lets me redraw an icon pixel by pixel, and exports a clean SVG or PNG without installation, accounts, or uploads. That small utility gradually became a proper compact editor.
What Pixel Painter is
Pixel Painter is a single-layer pixel art editor that runs entirely in the browser. It can be used in three ways:
- Start with a blank canvas and draw an icon from scratch.
- Open a raster image as a reference, generate a pixel draft, and clean it up manually.
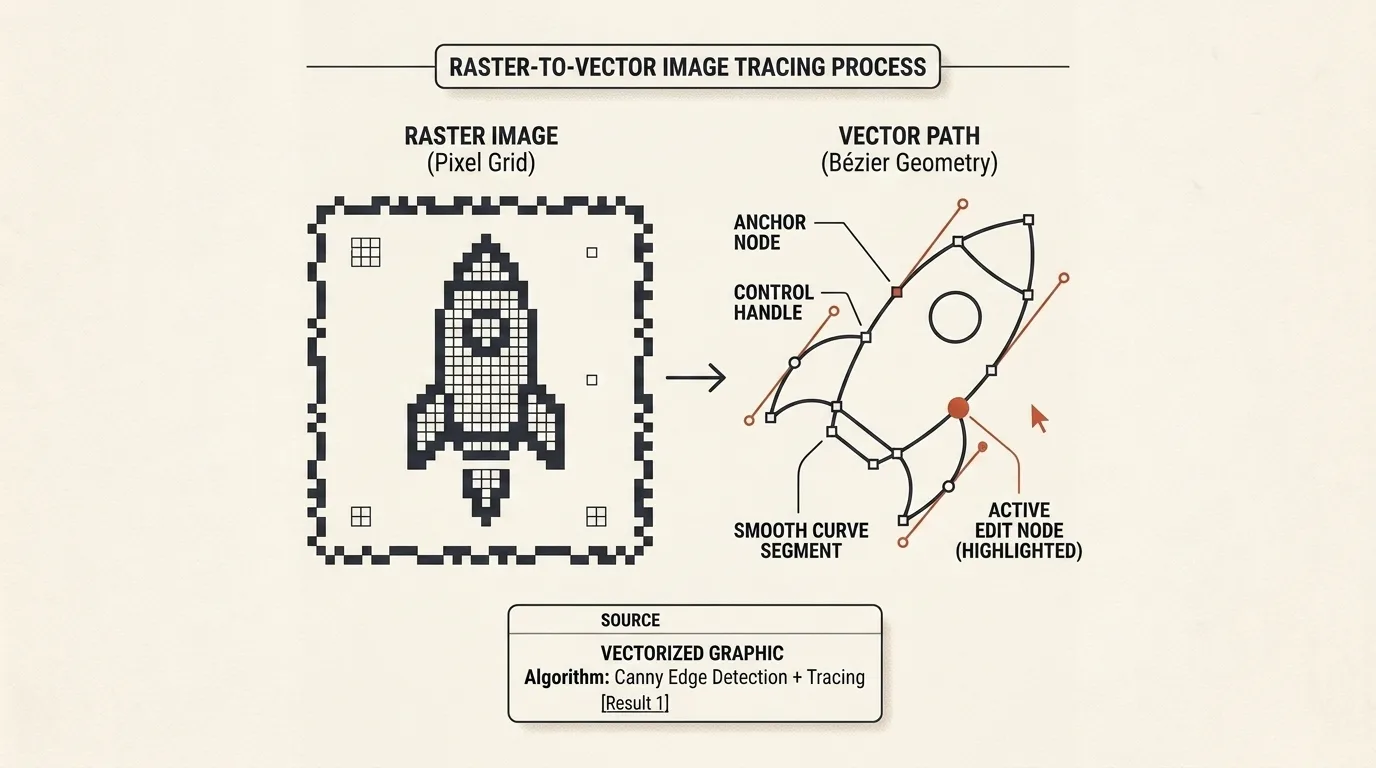
- Import an SVG as an editable pixel grid, modify it, and export or save it again.
The editor deliberately has no traditional layer stack. There is one editable pixel layer, an optional source image underneath it, and a temporary floating selection used when pasting a copied block.
Opening images and SVG files
The File section supports several input workflows:
- Image opens PNG, WebP, JPEG, and other raster formats supported by the browser.
- SVG opens an existing SVG file and converts its visible content into editable cells.
- From text accepts a complete
<svg>, an SVG fragment, or raw path data beginning withM. - A blank canvas can be created simply by entering its width and height.
An image or SVG can also be dragged directly onto the central editor. If the pixel layer already contains artwork, Pixel Painter asks for confirmation before replacing it. Cancelling the prompt leaves the current document untouched, while an accepted replacement remains available through Undo.
SVG input is analyzed before import. The editor reports invalid source and warnings, determines the visible bounds, rasterizes the result to a grid up to 256×256 cells, and builds a working palette from the most frequently used colors.
An imported SVG automatically switches export to Full canvas, so its original position and surrounding transparent space are preserved by default.
Turning an image into editable pixel art
A raster image is kept as a reference background rather than being mixed into the editable layer. Pixel Painter then provides a short conversion workflow:
- It tries to detect a suitable grid size automatically. You can rerun detection with Auto or set the width and height manually.
- It extracts suggested palettes containing between 2 and 12 colors.
- You choose a working or brand palette.
- Select the Dither mode: None (solid colors), Bayer 2×2 (retro grid), or Subtle (soft noise).
- Generate maps every visible source cell to the nearest color in that palette.
- You refine the generated draft with the normal drawing tools.
If the raster reference image does not align neatly with the pixel grid, you can refine it in the Background adjust section:
- Offset X and Y shift the reference image in sub-pixel increments of 0.25 cells (or exact numeric values) to align cut pixels with grid borders.
- Scale adjusts the background scale from 10% to 300% with a 5% stepper or range slider.
- Background rendering runs at a smooth 60 FPS, while color extraction for the eyedropper and the Generate draft tool automatically respects the updated background coordinates.
The Auto-regenerate on grid change option can rebuild the draft whenever the grid changes. The source image can also be hidden, faded with the background-opacity control, compared side by side with the editor, or removed after the draft is ready.
Drawing tools and vector primitives
The left toolbar houses core drawing and shape tools:
- Pencil (
B) — paints with selected color or transparency. Brush size ranges from 1×1 to 4×4 cells. HoldingShiftdraws a straight line or 45-degree diagonal. - Line (
L) — draws a clean line segment between two points with real-time outline preview. - Rect (
R) — draws a rectangle diagonally from initial click. HoldingShiftlocks aspect ratio to a square. - Ellipse (
U) — constructs an ellipse inside a bounding box. HoldingShiftproduces a perfect pixel circle. - Symmetry (mirror) — toggles horizontal (↔), vertical (↕), or 4-way (✚) mirror drawing across all brushes and shape primitives.
- Eraser (
E) — erases cells with selected brush size. - Fill (
G) — flood-fills connected area with selected color or transparency. - Eyedropper (
I) — picks color from pixel layer or reference image. Temporary eyedropper opens viaAlt-click. - Select (
M) — creates a rectangular editable selection. - Move (
V) — moves active selection, or whole pixel layer if no selection exists. - Crop (
C) — crops canvas to an adjustable rectangular boundary.
When symmetry is active, dashed orange axis guide lines appear on the canvas. At higher zoom levels, the canvas also highlights center guide axes and 8-cell major grid subdivisions. The current cell coordinates, canvas dimensions, visible artwork bounds, painted-cell count, and zoom are shown in the status bar.
Transparent drawing and preview backgrounds
Transparency is a first-class paint mode, not just an eraser action. In the Color section you can switch between:
- Color — Pencil and Fill add the current color.
- Transparent — Pencil and Fill remove cells.
Selecting a slot in the working palette reveals a Recolor button: with one click, it replaces all pixels of that color on the canvas with the currently active paint color (with Undo support).
The separate, collapsible Preview background section shows how transparent artwork will look on checkerboard, white, light, dark, black, or custom backgrounds. Grid lines automatically adapt contrast (light grid for dark backgrounds) for maximum cell readability.
Selections, movement, cloning, and transforms
The selection tools provide a lightweight substitute for object editing in a single-layer editor:
- Choose Select (
M) and drag a rectangle. - Move the frame or adjust its sides and corners with the handles.
- Choose Move (
V) to move the selected pixels with the mouse. - Use the arrow keys to nudge them exactly one cell at a time.
When the Move tool is active without a selection, the same mouse and arrow controls move the whole layer. Pixels pushed outside the canvas are removed, and the operation can be undone.
You can also clone a block:
- Copy the selection with
Ctrl/Cmd+C. - Paste it with
Ctrl/Cmd+Vas a floating copy. - Move the copy with the mouse or arrow keys.
- Reflect it with Flip H or Flip V.
- Press
Enteror click Place to merge it into the pixel layer.
The same horizontal and vertical flip buttons work directly on an ordinary selection. Ctrl/Cmd+D removes the selection frame; this shortcut is used instead of Escape, so macOS does not leave full-screen mode when you only want to deselect.
Colors and palettes
Colors can be selected with the native color picker or entered as three- or six-digit hex values. Pixel Painter maintains two palette types:
- Working palette — usually extracted from the imported image or SVG and used during editing.
- Brand colors — a reusable palette stored in the browser for future sessions.
Brand colors can be added, removed, reset, copied from the working palette, edited one per line, or loaded from the built-in design-system library. The list can be copied to the clipboard, and its format is compatible with the Color Toolbox workflow.
A working-palette slot can also be edited with the eyedropper. When its color changes, all already-painted cells using the old color are recolored together, with Undo support.
Canvas size, crop, and alignment
Canvas dimensions are independent and can be adjusted from 1 to 256 cells in either direction. For more controlled changes, Resize offers:
- exact width and height;
- a locked aspect ratio, enabled by default;
- relative resizing, such as adding several rows or columns;
- a nine-point anchor that determines where existing artwork stays when the canvas changes.
The Center command aligns the visible artwork in the canvas. Crop uses a movable, resizable frame; press Enter to apply it or Escape to cancel it. Crop and resize include the source background and can be undone.
The Canvas section also transforms the complete document: rotate left or right by 90 degrees, or flip horizontally or vertically. These actions transform both the pixel layer and the loaded reference image. A 32×16 canvas becomes 16×32 after rotation, and every action is available through Undo.
Viewing and navigation
The View controls let you:
- show or hide the source background (
H) and adjust its opacity; - show or hide the editable layer (
T) and adjust its opacity; - compare the editor with the original side by side (
O); - zoom with buttons or the mouse wheel;
- hold
Spaceand drag to pan around a large or highly zoomed canvas.
The cell grid appears automatically at a useful zoom level. Sidebar sections are collapsible, and their open or closed state is remembered by the browser.
Undo, redo, clearing, and autosave
Drawing, filling, moving, selection and full-canvas transforms, palette recoloring, cropping, resizing, centering, and clearing the canvas participate in Undo/Redo history. The trash button clears the pixel layer without making the action irreversible.
Pixel Painter also autosaves the current canvas, source image, colors, working palette, opacity settings, preview background, export settings, and other editor state to local browser storage. Reloading the page restores the working session when storage is available.
Nothing is sent to a server.
SVG and PNG export
The Export section controls the output filename, region, and pixel dimensions.
Two region modes are available:
- Trim to content removes unused transparent space around the artwork.
- Full canvas preserves the canvas dimensions and the artwork's position inside it.
You can then:
- download a compact SVG with crisp pixel edges;
- download a nearest-neighbor PNG with transparency;
- copy the generated SVG source directly to the clipboard;
- set an exact output width while preserving the artwork's proportions;
- leave the size empty to omit explicit SVG dimensions and export PNG at 10 pixels per cell.
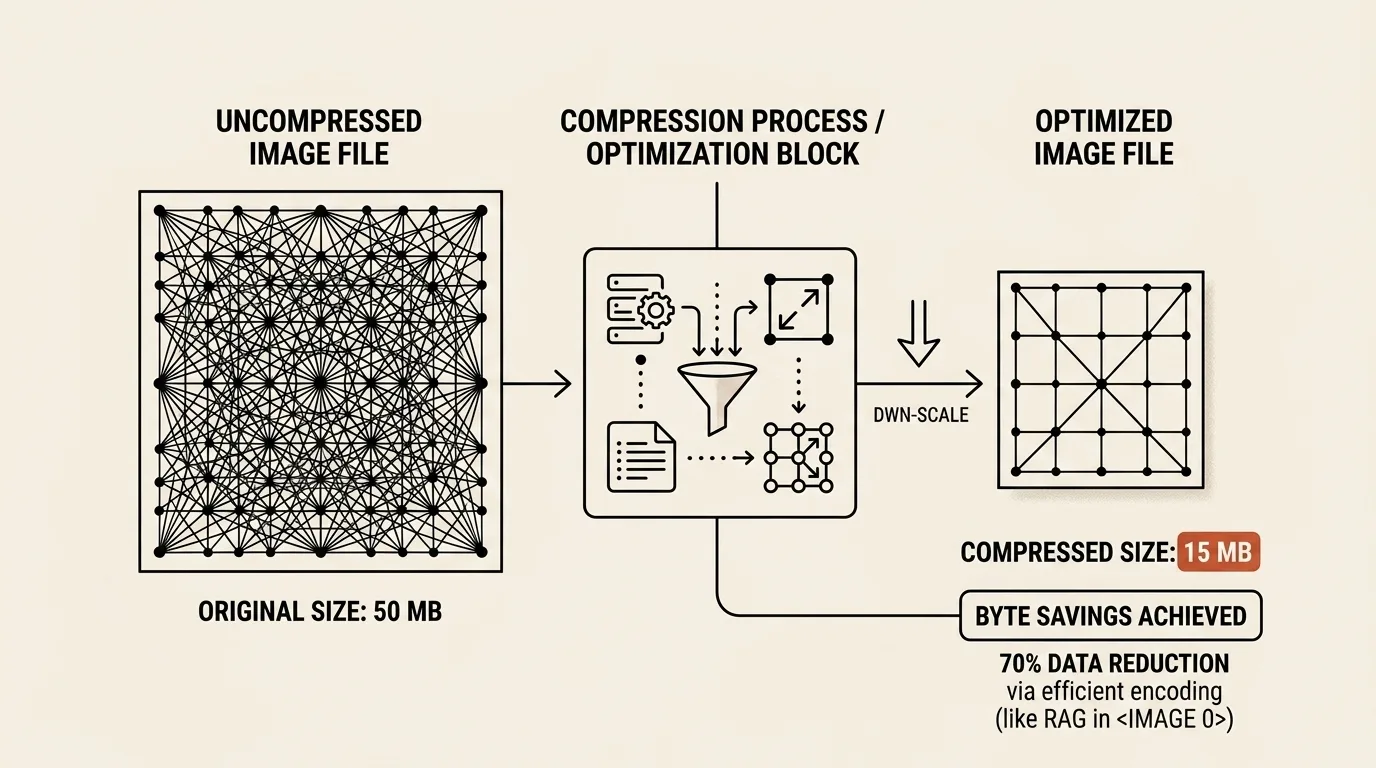
Adjacent cells of the same color are merged into compact SVG paths, keeping the result much smaller than one rectangle per pixel.
If the browser supports direct file access, an SVG opened with the SVG button keeps its file handle. The Export section then shows Save current SVG, and Ctrl/Cmd+S overwrites the opened file after permission is granted. Browsers without this API still support normal SVG download.
Open in SVG Optimizer sends the generated SVG to the companion optimizer through one-time browser session storage. There you can minify or prettify it, inspect it on another background, apply SVG transforms, and export React, React Native, Vue, PNG, or Data URI. The transfer stays inside the browser and is removed after the optimizer reads it.
Keyboard shortcuts
A practical workflow
For a logo or icon, the quickest route is:
- Open a source image or SVG.
- Check the automatically detected grid and adjust it if necessary.
- Choose a suggested palette or load your brand colors.
- Generate a draft.
- Hide or fade the source and clean the result with Pencil, Fill, transparency, and selections.
- Crop, resize, center, rotate, or flip the finished icon.
- Check it on several preview backgrounds.
- Export Trim to content for a tight standalone icon, use Full canvas when spacing and position matter, or continue in SVG Optimizer for framework code and additional formats.
That is the point of Pixel Painter: enough editing power to finish a real icon, without turning a small pixel task into a full graphics-software project.
Related tools


Frequently asked questions
What is Pixel Painter?
Pixel Painter is a browser-based pixel art editor. You can draw from scratch, turn a raster image or SVG into an editable pixel grid, work with colors and selections, and export the result as SVG or PNG. Everything runs locally in your browser.
Which files can Pixel Painter open?
It can open PNG, WebP, JPEG, and other image formats supported by the browser, as well as SVG files. You can also paste a complete SVG, an SVG fragment, or raw SVG path data into the text importer.
What drawing and editing tools are available?
Pencil with 1×1 to 4×4 brushes, symmetry/mirror modes (horizontal, vertical, 4-way), straight and 45-degree lines, eraser, flood fill, eyedropper, transparent paint, sub-pixel background adjustment (offset & scale), draft dithering (Bayer/Subtle), quick canvas color replacement (Recolor), selection, move, copy and paste, selection flip, full-canvas rotate and flip, crop, canvas resize, center guide axes, undo, and redo.
Can I move or clone part of an image?
Yes. Select a rectangular block, move it with the mouse or arrow keys, or copy and paste it as a floating clone. The clone can be moved and flipped before you place it.
Can Pixel Painter preserve transparency?
Yes. Transparent cells remain transparent in SVG and PNG. You can erase them, draw with transparency, flood-fill an area with transparency, and preview the artwork on checkerboard, white, light, dark, black, or custom backgrounds. Preview backgrounds are never exported.
Can I overwrite an SVG after editing it?
Yes, in browsers that support direct file access. Open the SVG through the SVG file picker, edit it, then use Save current SVG or Ctrl/Cmd+S. In other browsers you can still export a new SVG file.
Does Pixel Painter upload my images?
No. Editing, conversion, autosave, and export happen locally in the browser. Your working session and palettes are stored in local browser storage.
Author
Alex RelFullstack Engineer
In commercial development since 2011 — over 15 years. Author of two SaaS products, TeleGo.io and LingvoHabit.com. The articles here come out of real client and product work.